Scratch BrickPi Robot workshop
The robots
At our Code Club, we currently have two robots both are made by Dexter Industries and are controlled from a Raspberry Pi.
- Our BrickPi robot uses a Raspberry Pi model 1B, combined with Lego Mindstorms more recent EV3 motors and sensors
- Our GoPiGo robot uses the same model Raspberry Pi, with one ultrasonic sensor a Raspberry Pi camera, and a servo that moves both
Here’s an photo from when we first put them together:
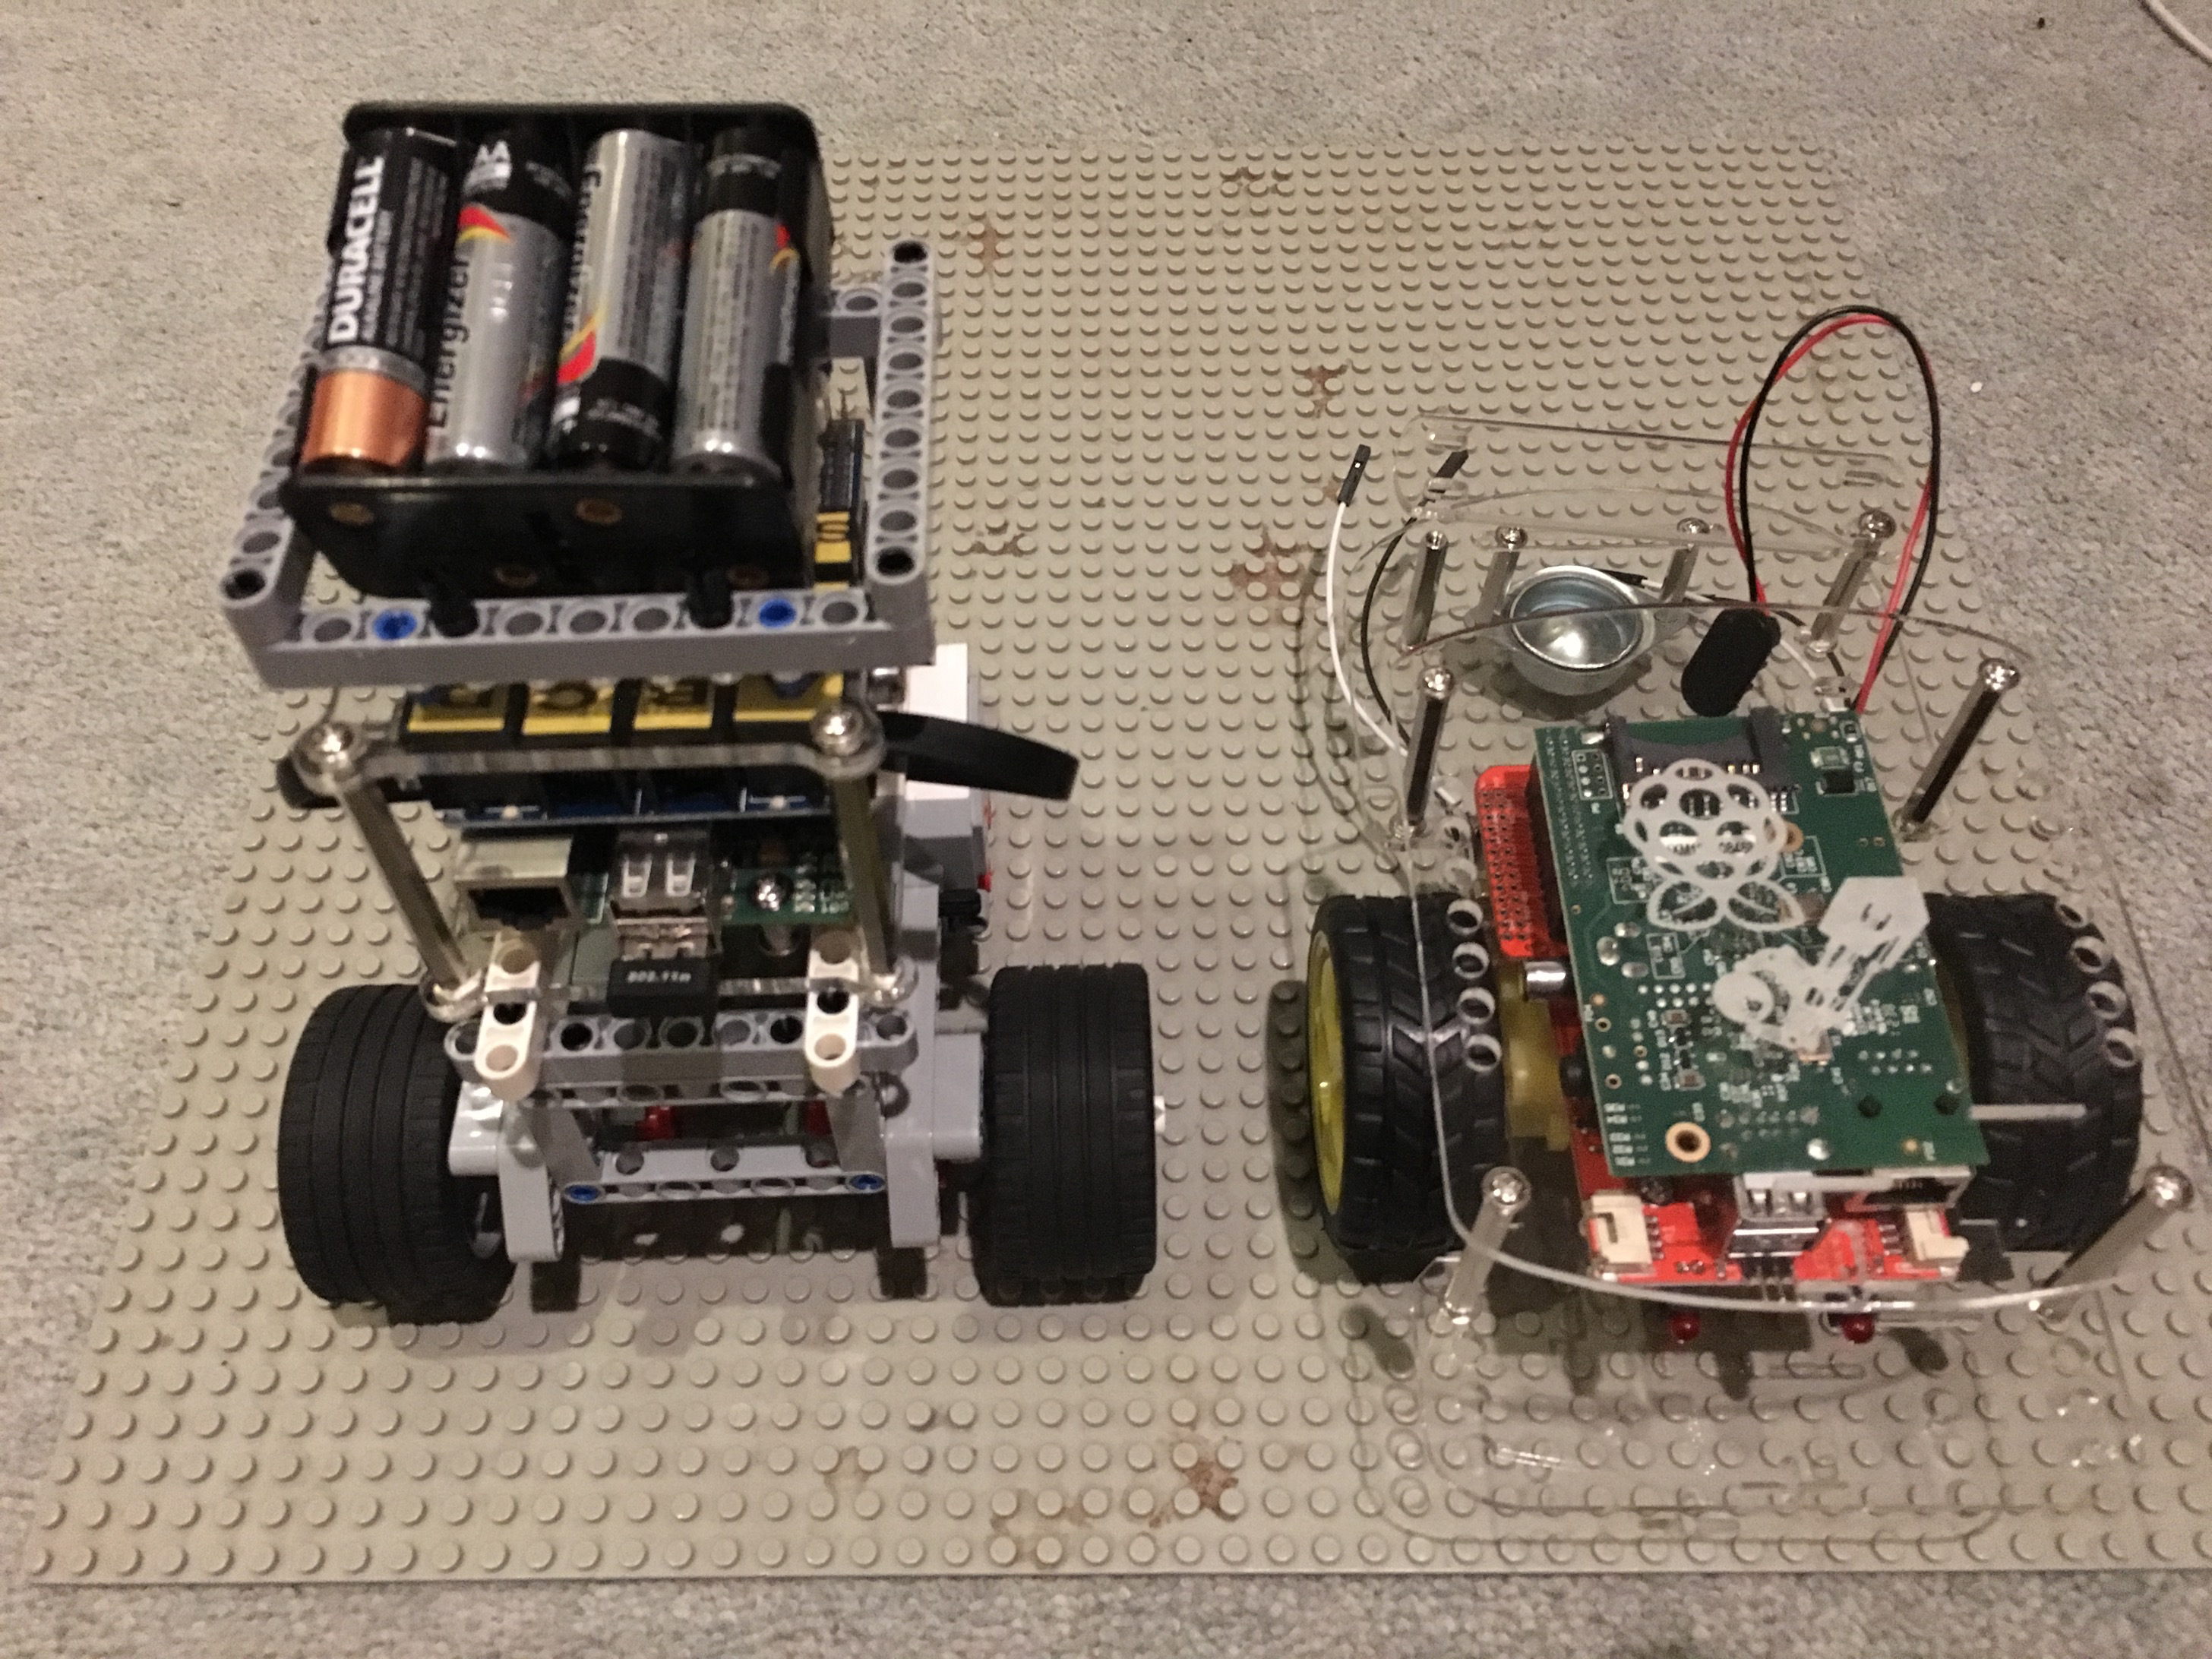
This is before we added some of the extras described above. We chose Raspberry Pi-based robots, firstly because I had some Raspberry Pis spare, and donated them to our Code Club. Since the kids start with Scratch visual programming, having robots that can be programmed with Scratch capitalises on earlier pre-written exercises, and lets the kids know that what they are learning can affect the real world.
Preparing for the workshops
While programming the robots, we have 8 x AA batteries in a battery pack, with a micro USB power adapter connected as well. The motors require the battery pack to, and we found that we need the power to keep the wifi connection more stable when we are doing a lot of communicating with the robot. Once we have programmed the robot, we’ll test it out, with the power still connected. Later when we have made the robot autonomous, we disconnect the power adapter, running it solely on the battery pack.
A few useful tips from our experiences:
- have multiple battery packs so that you can swap a new one in if one becomes drained during the workshop
- rechargable batteries were easier compared to disposable, as we can charge them beforehand, don’t need to buy more, and they have a more consistent running life than if we use different brands of disposables.
- it helps to get a charger that shows when the batteries are charged
- get a simple battery tester so you can tell which batteries need to be charged
- groups of two or three for one robot work better than larger groups because people are less likely to be left idle and distracted
- if the answer to a question is in the activity sheet, I let the kids know rather than just answering, so they keep their bearings in the activty sheet
- we normally record our progress with video and audio, then move on to the next step. There’s something great about seeing the work on video.
- do enough testing beforehand to ensure that the robots connect to the network every time, and it can help to configure multiple connections, each with their own IP addresses
If you’ve got a Code Club or similar, and want to run robot workshops yourself, you can download the student activity sheet I made here. I recently ran our teachers and volunteers through some training so we can run a few of these in parallel. We always start with Scratch, and then some kids will ask to do more in Python once they see what can be done. Using Python directly, allows for a lot more flexibility, since it is easier to interact with the Raspberry Pi e.g. speech or video streaming. Our robot workshops usually last for at least two sessions of one hour each. This lets the kids go through the activity sheet for the first session, and then plan out and add enhancements in the next.
Here’s the teacher notes to go with the workshop; these contain useful information on preparation and delivery of the workshop.