Preparing SD cards for our code club robots
Writing SD cards on Mac OS X
There’s a few different ways to do this on the Dexter Industries site, and this is post just shows a process that worked for the workshops we do at our Code Club. It may be useful for those running Mac OS X with homebrew installed. Homebrew is an easy way to install and manage open source software and other software, on the Mac.
Install a tool to unarchive .rar files e.g. unrar:
brew install unrar
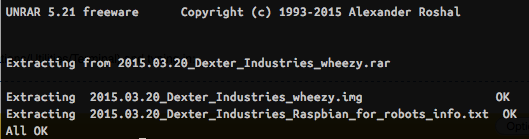
Unarchive the downloaded archive:
unrar e 2015.03.20_Dexter_Industries_wheezy.rar
Then identify which device the SD card is:

Here, the SD card is at /dev/disk5. The command to list devices is diskutil list. Do this before then after inserting the SD card to see where your device is. If the device is mounted, you need to unmount it first with umount diskutil unmountDisk /dev/disk5
You should see:
Unmount of all volumes on /dev/disk5 was successful.
Next, writing the SD card is performed with sudo dd bs=1m if=2015.03.20_Dexter_Industries_wheezy.img of=/dev/disk5.
The image name here was the latest version at the time, so will be different for yours. At the time of writing, it was available for download here but refer to the Dexter Industries page for the latest.
Writing the SD card is performed with sudo dd bs=1m if=2015.03.20_Dexter_Industries_wheezy.img of=/dev/disk5
Now is a good time to go and grab a drink, and a quick bite to eat.
On Mac OS X, you can use the control-t key combination to see the time remaining for the write.

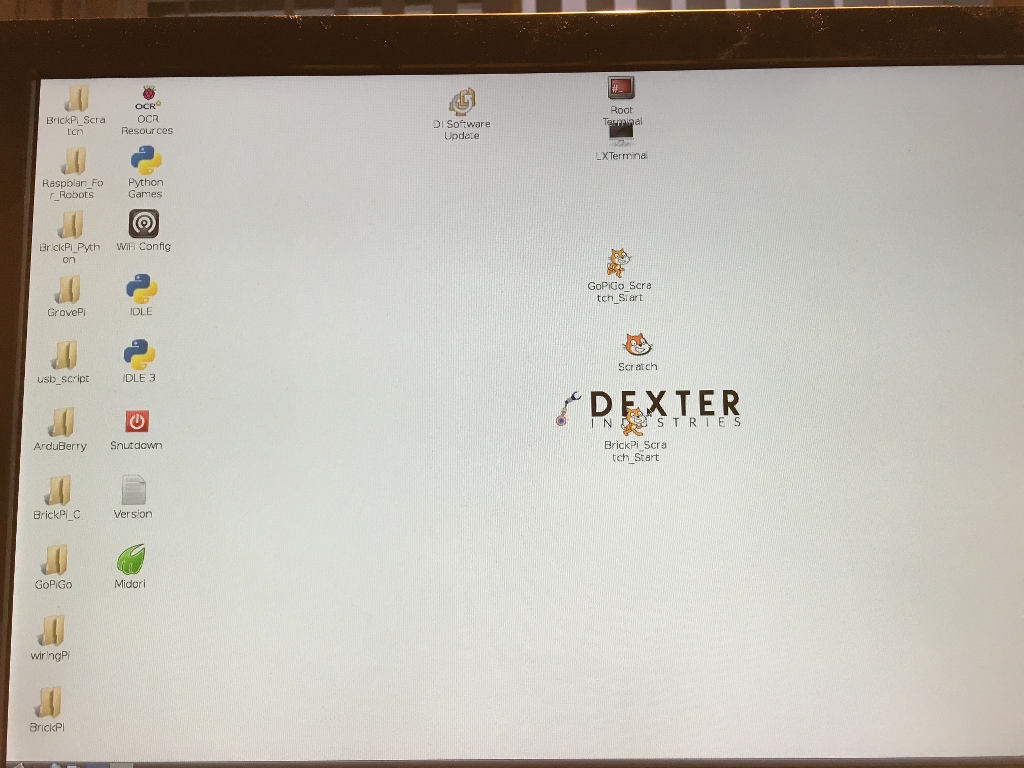
Boot it!
..and it works! Well, once you put it in the Raspberry Pi and boot it, that is.
Configure, backup, then write to other SD cards
Of course by this stage, you’ll want to go and talk to whoever sets up the wireless, and find out how to configure your Raspberry Pi to the Code Club network. Since Raspbian for Robots is a custom version of Raspbian for Raspberry Pi, your mileage may vary at this point. Refer them to the links in this post and they should soon work it out. Or, just read up on it yourself.
Once I had the SD card configured and tested, I backed-up the SD card with (replace disk5 with your device as identified above), dd if=/dev/disk5 of=backup_filename.img bs=1024.
Depending on how you set up your networking, you may just need one SD card image, or multiple set up for different IP addresses. Use the same command used to write the image the first time, but replace the original Raspbian for Robots image with the one you’ve just backed-up to. To simplify things when you suddently realise that it’s Code Club time again, and have to grab everything and run, make sure you clearly label which SD card is which.
As we do small group robots workshops, I usually try to have at least one SD card ready for each group. I also have different ones for the BrickPi and GoPiGo.